Thursday, March 27, 2014

Veggie Garden, Update 1

Being pretty new to gardening, I'll take all the help I can get.  This year I'm using Smart Gardener to help me figure things out.  It's a free program that tells me when I need to do things.  I picked my seed varieties from their database (or close enough, they don't have everything), and input the size and orientation of my beds.  With that, they gave me a suggested planting map that I could play with until I had it the way I wanted it.  The garden map is also printable, which will be handy when I'm planting.  Now I get a weekly email reminding me of what I need to do in the garden--starting seeds, preparing soil, planting, etc. by variety.  I've now officially started all of the seeds that need to be started indoors!


More seeds were started after this picture was taken, all 3 trays are completely full now.

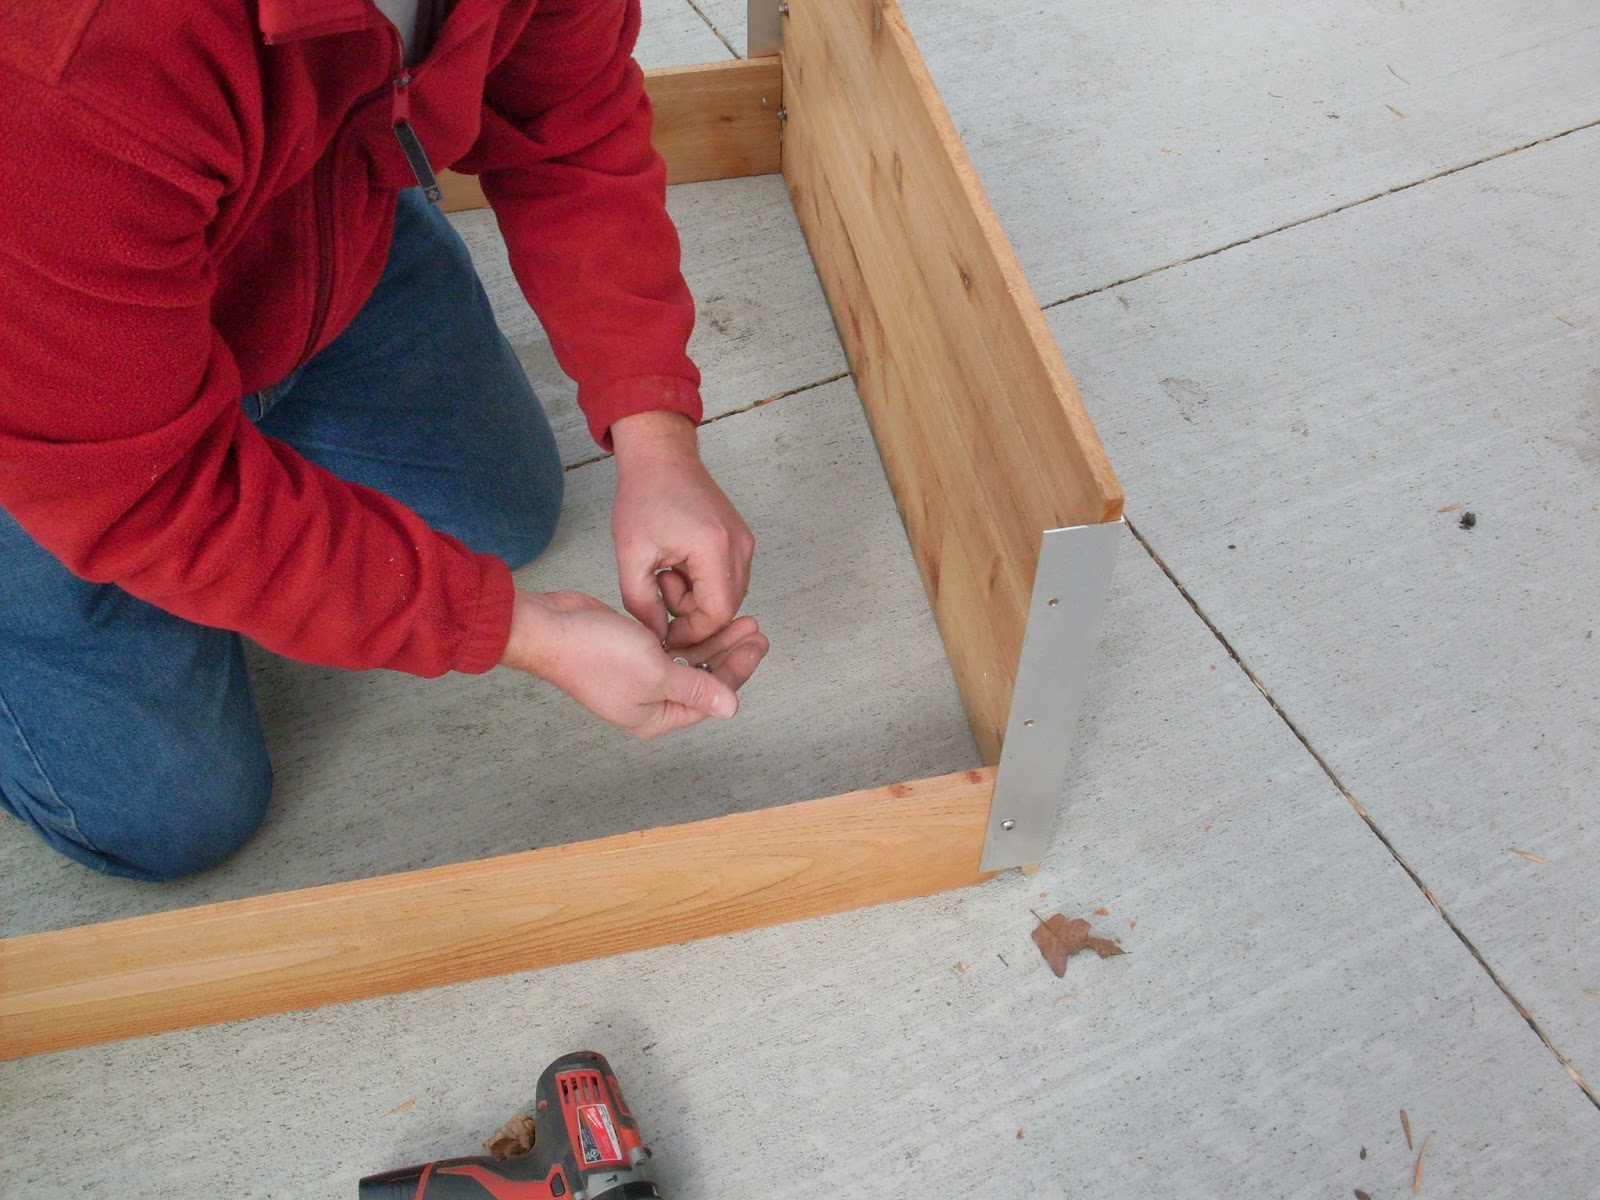
Yesterday Sam and I got the beds built.  We used 6 ft cedar fence pickets from Lowe's (and I've just realized I had a gift card I could have used...oops).  Cedar naturally resists rotting, so hopefully they'll last me a few years.  I have four beds, 6 ft by 3 ft and about 16 in high.  I still need to straighten, level, and fill them; but they're pretty much where I want them.

 Cedar fence pickets.
 Some cut in half to make the short ends.
Attaching corner brackets. 
Building the long sides. 

 One bed.
All four beds!

Today is a rainy dreary day, so no yard work for me!  Along with starting seeds, I also worked on making plant markers for the garden.  They're just wide craft sticks with paint pen, nothing fancy.  Paint pen should resist fading better than something like a Sharpie, so I should be able to read the labels all season.  On the back of each I wrote the number that corresponds to the planting map in normal ink, which will probably fade in the sun.

Red for tomatoes, green for peppers, blue for other.

Next update will probably be after I start planting.  Our last frost date is 2nd week of May, some things will get planted before that (peas, parsnips), but most will be after.

Thursday, March 20, 2014

Spring!

Spring is here!  Officially, if not actually.  It's starting to feel more like spring, though, and today I had the windows open!  It was nice enough that I was able to let Richard play in the back yard for a couple of hours.

I was also able to get some of my seeds started today.  It may be two months before they're able to go into the ground, but it's a step in the right direction!  Sam is currently researching how best to build my raised beds.  In them I'll be planting tomatoes, peppers, green beans, and parsnips.

I have lots of gardening ambitions this year, not just the vegetable beds.  I still have a bunch of bulbs that didn't get planted last fall (thanks, early freeze!).  I may be able to get them in the ground in the next few days, since they only need to be a couple inches down.  Other plans include replants in the front flower bed, adding daylilies and azaleas to the rock garden, putting some blueberries in the raspberry bed, and whatever other random replants/crazy ideas I come up with!  Add in building a garden shed and rebuilding the front porch, and we've got a busy year ahead of us!

Friday, January 31, 2014

Laundry Room Improvements

A project I've been very excited about is fixing up my laundry room.  Other than fixing the wiring and throwing in some cheap shelves we already owned, we haven't done anything with it.  But, oh, I've plotted!

I spent some time last fall designing my dream shelves to hold all of our crafting junk.  I gave the design to Sam, who figured out how to make it practical.  As he built the shelves, I painted the wall they were going on.  Then the shelves were installed and painted.

They're not done yet, there's still touch-up and shelf painting, organizing, finishing touches, and a bunch more stuff to go in; but I'm very happy with how they look so far!

Wall taped off and spackled.

Painted wall.

Shelves with bonus Richard!

Monday, December 16, 2013

Quick Bathroom Makeover

When we bought our house last year, we spent 2 months remodeling before we moved in.  Nearly every room underwent dramatic changes.  One exception was the downstairs bathroom.  To call it a bathroom is actually a bit of an overstatement.  It's a toilet in a closet.

This weekend Sam decided it was finally time to replace the old toilet.  I decided that as long as we were clearing the room out we should do something about the hideous paint!  (The previous owners had an unhealthy relationship with the color brown.  The color in the bathroom looked like it belonged in a diaper.)

 This picture really doesn't do the color justice.  Even the ceiling was this horrible brown.

 Everything out and the first coat of paint on.

Finished product.

It was a simple enough change, and it only took an afternoon, but I'd say the end result is a vast improvement!

Wednesday, November 27, 2013

Dry Air

This time of year there isn't a lot of moisture in the air, especially when you have your heater on.  For me, the drier air causes dry skin, sinus problems, and lots of static shocks!  There are many ways to combat dry air in your home, like buying/installing humidifiers.

Or there's my favorite cheap and easy option.  Take a crock pot, fill it with water, and turn it up to high.  As the water turns to steam, it helps moisturize the air.  To make it even better, you can add things to the water to make the house smell nice.  Today I put in half a cinnamon stick and a couple of cloves.  When I made my lemon meringue pie I tossed in the leftover rinds.  My house now smells all citrus-y and spicy, perfect for the holidays!

Monday, November 25, 2013

DIY Personalized Coasters

For another Christmas gift idea, I decided to make some DIY personalized coasters! It was quick, easy, and cheap to make! I created 2 sets of 4 coasters.

Here are the items I used to create the coasters:
1. Ceramic coasters ( $1.00 each at the dollar store)
2. Mod Podge
3. A sponge brush
4. A different photo for each coaster (I used family and family pet pictures)


I used the ceramic coaster to measure my photos to make sure they fit perfectly on each of the coasters.
I used my sponge brush to "paint" the Mod Podge onto the ceramic coaster, then placed the photo onto it and held it down for a bit to make sure the photo was securely stuck in place. I then added 1-2 coats of Mod Podge on top of the photo and on the sides of the photo to make sure it was well sealed. After I allowed it to dry, I gave it a quick coat of non-yellowing, moisture resistant spray sealant (not pictured) for good measure. I let it dry then wrapped each set in some cute Christmas ribbon and was done! :)


                 The finished product!
(I added ribbon, but removed it shortly after)                        

Wednesday, November 20, 2013

DIY Dog Leash Organizer

This year for Christmas, we (more me than Zach) decided we wanted to make some homemade gifts for our friends and family since I think they are more fun to give as gifts, and, it gives me a reason to get crafty and make a mess! My brother -in-law and his girlfriend just recently moved into an apartment together, with both of their dogs, Hayden and Stanzi. While visiting them, I noticed that their dog leashes are kept on nails in the wall by their door and it wasn't very easy on the eyes, I thought to myself, I can fix this AND make a Christmas gift all at once! I busted out my purple craft tote and got to work!

Supplies I used:
1. 10x10 thin piece of wood
2. Paint
3. 1 sheet of scrap booking paper
4. Glossy Mod Podge
5. Command hooks
6. Stickers (letters for the names & puppy paw print ones for added cuteness)
7. A cute little wooden dog I found in the craft section at Walmart
8. A glue gun

I painted all 4 sides of the wood with gree paint and glued the green paper onto the wood with the mod podge. Put a coat of mod podge over the paper, let it dry, then added the command hooks and the stickers, and finished by using hot glue to add the decorative puppy to it! Can't wait to wrap it up and put it under the tree!